Today, I will be talking you through flat lay photography. Through this guide, I will discuss different ways of approaching this technique. In the end, you should know some helpful tips to get you started in your flat lay photography. [ExpertPhotography is supported by readers. Product links on ExpertPhotography are referral links. If you use one of these and buy something, we make a little bit of money. Need more info? See how it all works here.]
What Is Flat Lay Photography?
Flat lay photography is as simple as the title suggests. You photograph objects on a flat surface. Although it seems simple, you can spot a badly created flat lay photograph a mile off. These images come across as messy and unorganised—two aspects you probably don’t want to be associated with your product or photo. Flat lay photography requires your objects to be on a flat surface. As gravity keeps all our objects to the ground, you are most likely photographing from a bird’s eye view. This means you will be photographing facing down, which comes with its challenges. We will dive into this subject later on. Flat lays have been around for a long time in photography. They are influenced by the photogram, one of the earliest forms of photography. A photogram is constructed by laying objects on a photographic piece of paper. You then flash light from an enlarger toward the paper. The light exposes the paper it touches, leaving the object’s print unexposed. If you developed the paper, you would see the objects printed in white on a black image.
What Does Flat Lay Photography Do?
Flat lay photography has the power to point your viewer’s complete attention to your subject or subjects. You can carefully select the background and what you choose to include inside the frame. Decisions like this can create a beautiful effect where the subject is heavily emphasised. Because of this, flat lay photography lends itself well to multiple genres of photography. You can often find them in product photography or fashion photography. Look at some advertisements next time you’re out, and I’m sure one will feature flat lay images. Its success here is not just the emphasised attention on the product. It’s also how you can send a message of the brand through the simplistic use of colors. This is an excellent way of simply getting across an emotion. It is also easily emphasised by the props you choose to include if there are any. You can also find this technique used heavily in food photography, especially in food delivery apps. It’s a technique that many restaurants use to show off their food range. This is because it is an easy way to photograph food as a display on a plate. It also works well for restaurants that don’t have the most pleasant settings. These flat lays take the food out of its context and present you with just the good stuff. Not only this, but the addition of colors are great to promote branding or add flavour to a visual mix. You can use flat lays anywhere. Their ability to create simple stories easily means they are a kind of still life photograph. The objects and the way you present them give you a greater picture of the concept you create. Flat lays are even seen in documentary photography or photojournalism. A view of an untouched table setting in a cookbook can sometimes say more about a person than a portrait can.
Preparing Flat Lay Photography
You will need to take a few steps to ensure you are getting the best flat lay images. I will now discuss a few items to consider before creating your flat lay photos.
Use Colors to Create a Theme
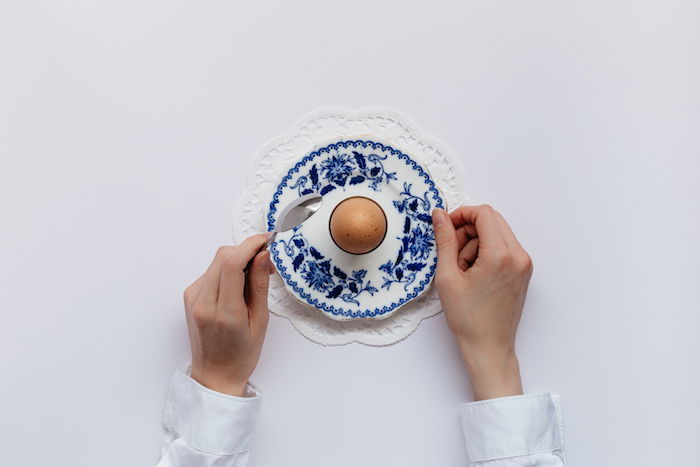
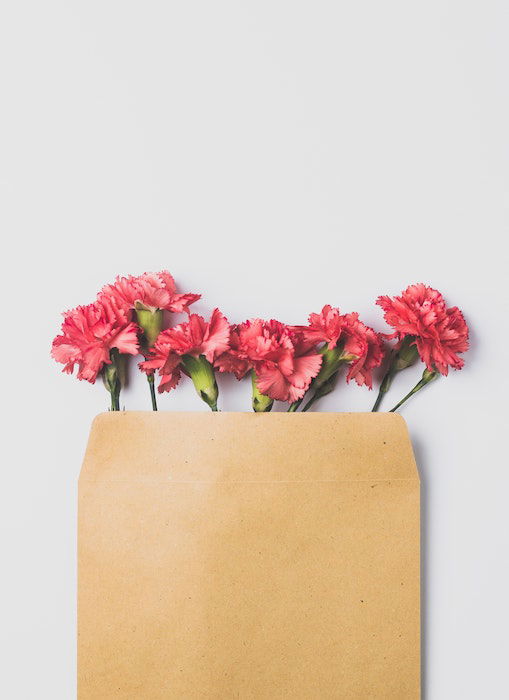
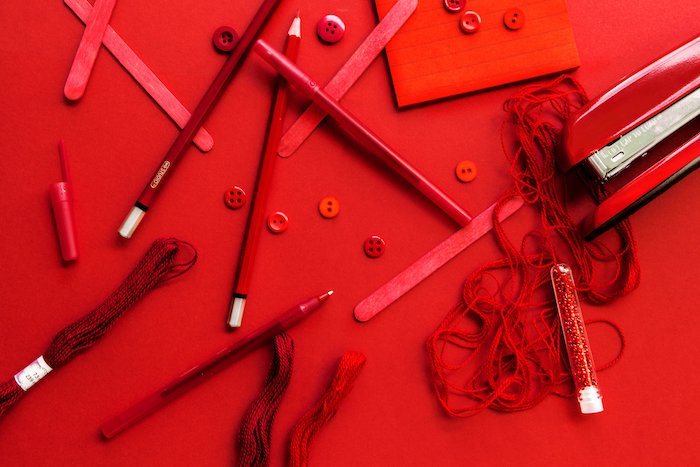
The most important decision is what message you want to convey to your viewer. Do you want the subject to seem sleek and cool or colorful and playful? You control these elements by the colors you select. Pay particular attention to the color and texture of the flat lay background you use. A simple black or white background is perfect for giving a sleek and basic setting for some photos. You can get colored mount-board or foam-board in these colors to provide you with a flawless backdrop. A colored card is a great way to do the same for a playful image. You can even choose a selection of colors, cut them out, or lay them side by side. But be careful with the colors you use. You may want to check a color wheel. The photograph will be a lot more successful if your objects are all in sync with their colors.
Keep Storytelling Simple
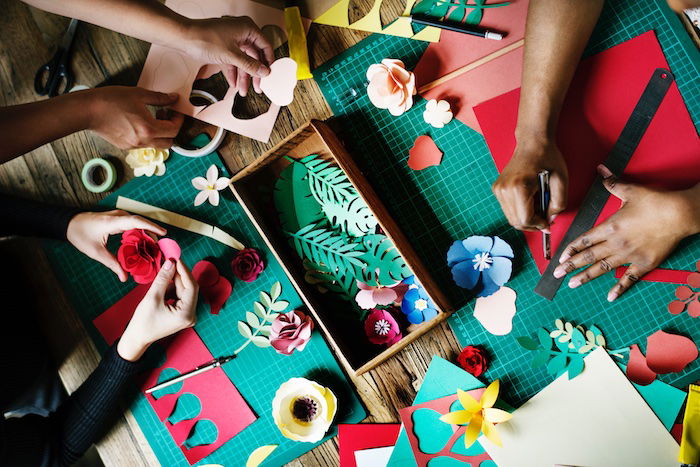
Flat lay photos can either be simple product shots or more elaborate excerpts of a story. You may not quite achieve a whole narrative with a beginning, middle, and end. But, you can make simple comments about a product. This comment all depends on how creative you want to get. If you decide to create a small story, keep it as simple as possible. In flat lay images, the frame can quickly get chaotic. Once it starts to get messy, you will find it takes focus away from the object. This is something you can experiment with for yourself.
Use Your Best Camera
The nice thing about flay lay photography is that it doesn’t require a specific type of camera. You are even able to use your phone for this technique. A good rule of thumb is to use your best camera to give you the best quality. For flay lay photos, more sharpness can go a long way. So, a tripod is essential.
Use a Tripod
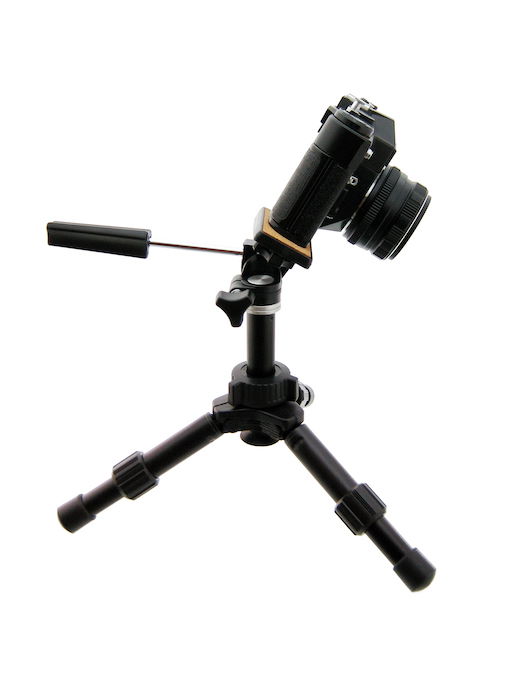
The tripod you use will be a vital piece for flat lays. You will be photographing your subject from a bird’s eye view. This viewpoint means you will be photographing directly facing down. Ideally, you want a tripod that has a tilting center column. This allows you to keep your camera facing down and in the same place. If you plan to do many flat lay photo shoots, I would consider investing in a tripod with this feature. If you do not have one of these tripods, you can get yourself a stool or a ladder to raise yourself above your setting. This will make it easier to get an image from directly above. If you are photographing with a smartphone, you can be a little smarter. Rest the phone on a flat surface and have just the camera poking out. The phone’s weight should keep the phone sturdy enough, but be careful because this is a great way to break your phone accidentally. If you have a tripod with a tilting center column, you can streamline your process with tethered shooting. Tethered shooting allows you to leave your camera on the tripod. You can take multiple photos without touching the camera. This is extremely useful for people who want to create flat lay stop motion videos.
Lenses to Use
When choosing what lens you can use, it is best to stay away from wide angles. You will most likely want to select a ‘goldilocks lens’—not too wide and not too long. If you have the space to photograph with a long lens, then do so. A long lens will give you a narrow vision of your subject while keeping all the lines in your photograph straight. When photographing with a wide-angle, you can start to see some of these lines converge. Converging means straight elements will begin to warp at the edges of the photograph. This will ruin the neat effect that flat lay photographs do best.
Lighting to Use
A critical element that will drastically change how your photograph looks is the lighting you use. When dealing with lighting in flat lay photography, it is a choice of style. Do you want a striking, dramatic image? Or do you want a softer, well-lit product? I would suggest that harsh directional lighting is best for flat lays with a single object. These directionally lit images can be great to exaggerate a product’s form. Personally, I would use soft lighting that creates as few shadows as possible. This helps the images disappear into the background. It also helps with having your object seem more two dimensional. You can even do these shoots with natural light.
4 Tips For Photographing Flat Lays
1. Be Meticulous
This is the most important advice I can give you. Try to be as detailed as possible. Investigate each object and the way it lays on the ground. The most crucial aspect in this is the cameras angle. Makes sure that the lens is pointing directly down. This is why it is great to use a tripod to take an image and then study it.
2. Take Unwanted Elements Out
Make sure that everything in the frame has a reason for being there. If it doesn’t, take it out! There is no better way to ruin your photo than to give the viewer another element to think about. It may not seem obvious to you, but someone’s attention could be directed there. Everything in the frame should be relevant in telling the right story.
3. Use Negative Space
It can be tempting to fill the frame with relevant material, but I suggest not making the image too busy. The more elements in the photograph, the harder it will be to make them look uniform or neat. Don’t be afraid of blank space.
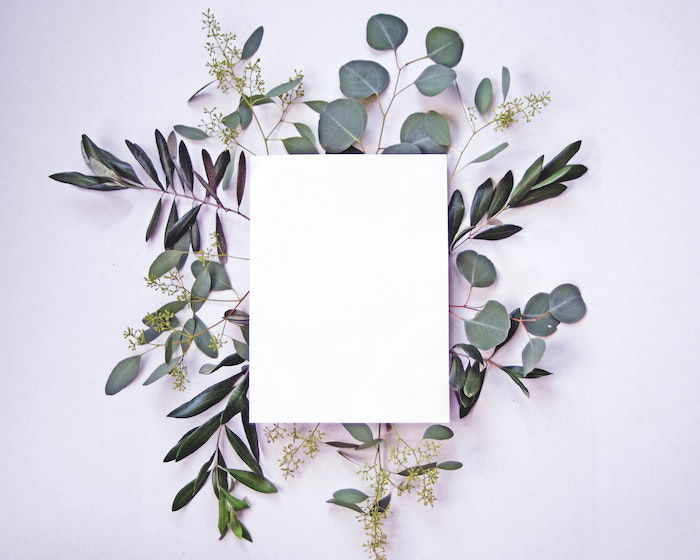
4. Leave Blank Areas for Graphics
A great feature of flat lays is their potential for different uses. A great way to take advantage of this is by leaving some blank space for your graphic. This could be used for a company logo surrounded by its product. Or you could even have your photography logo surrounded by objects that match your aesthetic.
Conclusion
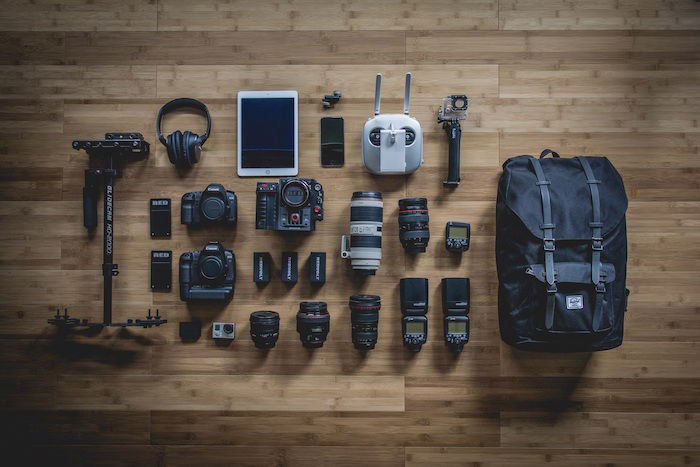
Flat lay photographs are a great way to photograph simple product images. They can also be a great way to show off your photography kit. One thing I have come to realise is that they are harder to photograph than they look. But the time you take planning and constructing the shoot will pay off in the results. The advantage of flay lay images is that none of the objects is going anywhere. So I recommend taking your time and keep photographing until you have a perfect shot. Flat lay photography will reward you the more you put time into it! Try experimenting with different flat lay ideas each time! Do you want to be a product photographer? Take a look at our Products in Focus e-book. It covers everything you need to get started, like props, composition, and lighting.