If you’re looking to capture images on film, look no further. We look at the camera, processes, and techniques to make it all possible. [ExpertPhotography is supported by readers. Product links on ExpertPhotography are referral links. If you use one of these and buy something, we make a little bit of money. Need more info? See how it all works here.]
What is Film Photography?
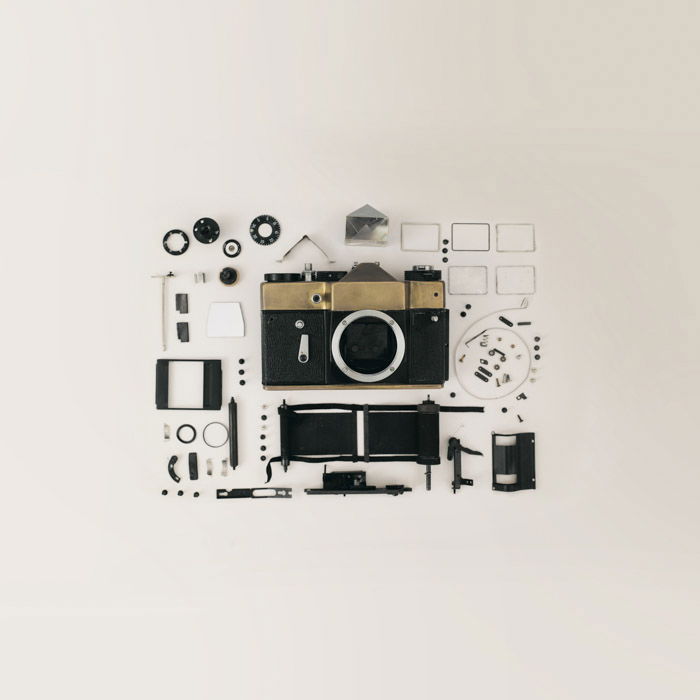
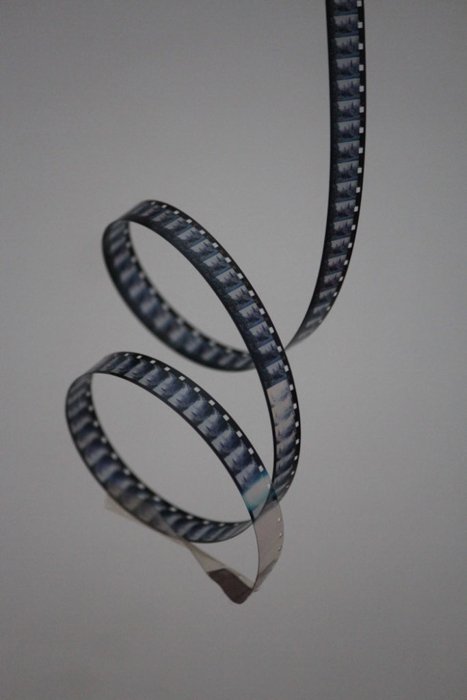
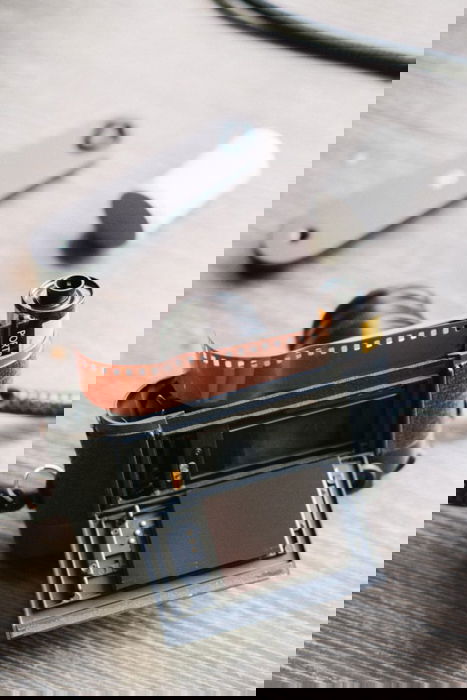
Film photography is where it all began. Before the birth of digital photography, we all took photographs on strips of plastic with layers of emulsion. Further back from that, we used glass and metal sheets which played both the role of light carrier and print. These strips come with a coating of a silver halide solution, protected by a layer of gelatin. The photographs we took burned an imprint into the silver. To get a negative out of this, chemicals and washes stripped the plastic of all its coating. This reveals a reversed image. Dark areas of the scene would show up as transparent on the negative. The grain or ‘noise’ we see from higher ISOs come from the size of the silver pieces. The bigger the pieces, the better they were at capturing light but that also meant they were big enough to see. Film photography is all about having a physical element with the possibility of experimentation. It relies on the process of conscious image-making because you have a limited number of frames. It is also time-consuming due to the developing and scanning process. These days, film photography is making a huge comeback. There are plenty of reasons why you should shoot film. There are a lot of online communities, collectives and groups on social media. You can even find hashtags like #filmisnotdead where people are aiming to bring film photography back to life.
Why Should You Try Film Photography
Film Photography Vs Digital
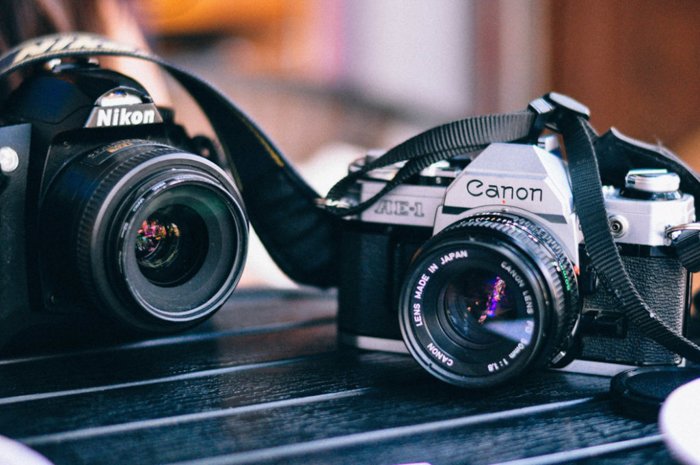
You don’t really need me to tell you the difference between analog and digital. We see it all the time with music and film. Film came first, then the digital revolution followed. Digital cameras were built on the exact mechanic of SLR’s. The biggest advantage of film photography is that it offers you a way to learn. Most analog film cameras are fully manual. This means you have to change all the settings yourself. There are many disadvantages, but these only make sense when comparing to the DSLRs of today. The quality of your negatives can surpass your DSLR if you have the right camera and scanner. What analog photography offers you are a plethora of great cameras to choose from. These cameras are specific to their time and their location. There are also great lenses which you can even mount on DSLRs with adapters. A Japanese camera like the Mamiya is very different from the Russian Zenit. Different feel, different sound, different outputs. Digital cameras don’t have a look about them, nor do they have a feel of a culture or a time. And they do not last nearly as long as film cameras. Read our article for the other seven reasons to go analog.
Film Photography Benefits: Why I Still Shoot on Film (and You Should Too!)
The benefits of film photography are what got people shooting in the first place. Back in the day, scientists and documenters used the camera as a tool. Then, the cameras found their way into the hands of studio photographers, documenters and artists. Without film photography, digital photography would not have been born. Likewise, Adobe Photoshop was born from struggles that Thomas Knoll found when dodging and burning in the darkroom. Film photography still offers a lot of choices. Many different types of film give you different looks in the real world. And you don’t ev.en have to use presets in Lightroom to mimic the unique looks This is the opposite of splashing them all over Instagram.
Using Film for Street Photography
Many photographers use digital to capture their street photography images. There are still a few who prefer to use film for all street activity. There are a few reasons for this. Not only does film offer a hands-on product. It is also very forgiving in the way it captures highlights. There are some great cameras that only work with film. For example, the Mamiya C330 TLR. This style of medium format works well for candid captures. Whatever the reason, there are many benefits to using film for street photography.
General Tips for Film Photography
Black and White Film Photography Tips
Film photography is different from its digital counterpart in many ways. One of the biggest differences comes in how we expose a scene. With film photography, it is better to overexpose. It is easier to bring the exposure down later. You are able to push or pull a film if you would like to change the exposure while developing. In digital photography, the opposite works better. Underexposing a scene allows you to pull details out of the shadows. This is just one tip we can offer you, the rest are in our article here.
25 Best Film Photographers Working Today
Are you a photographer who likes using film? Perhaps you aren’t exactly sure why. The hands-on approach is very alluring. If you think you’re alone, you couldn’t be more wrong. There are many photographers out there who still use film. There are many communities out there to join and follow. For inspiration on what to photograph, you’ve come to the right place. These 25 photographers will have you up and on your feet in no time.
How to Choose Film Photography Equipment
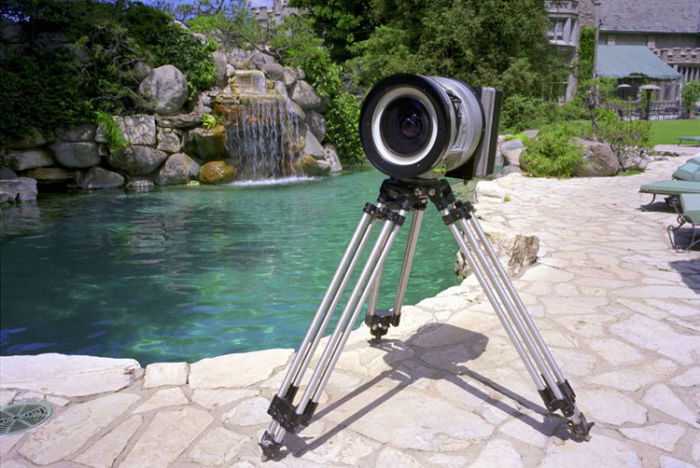
It is at the intersection that one can find a great image. It comes down to a photographer’s skills and their camera’s ability. Neither one can operate without the other. Luckily for you, there are many cameras that you can buy cheaply. There are even cheaper second-hand options. Even though the camera body is important, you should get a good lens first. As the digital market came, photographers ran to the DSLRs. They up and left their analog counterparts to sit on shelves. This gives you the opportunity to purchase various film equipment for a relatively low price. But be aware of because the popularity of film cameras are increasing! Here is our list to help you choose the right camera for you and your style.
10 Classic Film Cameras for Under $100
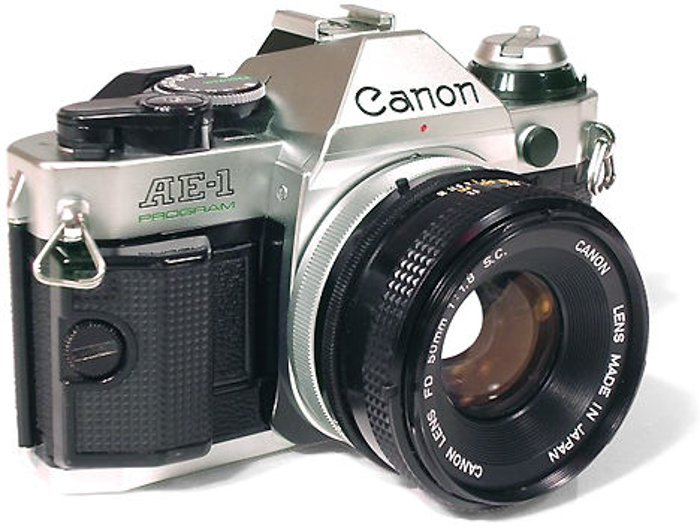
Yeah yeah, we all would love a Leica M3 or M6. Any of them would do, but life is unfair. They are expensive as they are world-renowned. Not owning one shouldn’t stop us from buying and using other great cameras. The ones on our list had their time, and they need you for their revival. What about the Canon AE-1? The first affordable film camera with TTL (Through The Lens metering), It also came with autoexposure modes. Have a look at the others and see which ones grab your fancy.
How to Use a Light Meter for Better Photography
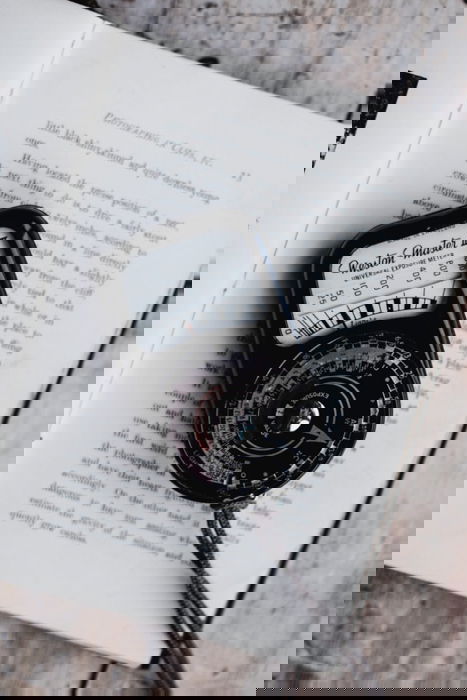
One of the challenges you might come across when shooting film is not having a light meter reading. Some cameras have them inbuilt, others have no way of telling you if the scene is over- or underexposed. This is where a handheld light meter comes in very handy. They work in two different ways. They operate as a reflected light meter or an incident light meter. Reflected looks at how much light becomes reflected from the subject. An Incident light meter looks at how much light hits the subject. It tests the light between the camera and the subject. This also works with flash lighting. Read here on all the information you need on light meters, and which type is better for you.
How to Choose Photography Film
Guide to Choosing the Best Black and White Film
Kodak, Ilford, Rollei. There are so many black and white 35mm films to choose from. It can be daunting. It would be impossible to give you the details and comparisons of them all. A great image doesn’t just come from the film choice. It also comes from what you capture. or if you prefer to under- or overexpose the film. The developer also plays a huge part in how the final negative turns out. Then on top of that, you still have to print or scan the image in and post-process the images. Here, you will find the comparisons of the top five most popular black and white 35mm films.
Where to Buy Film for Old Cameras
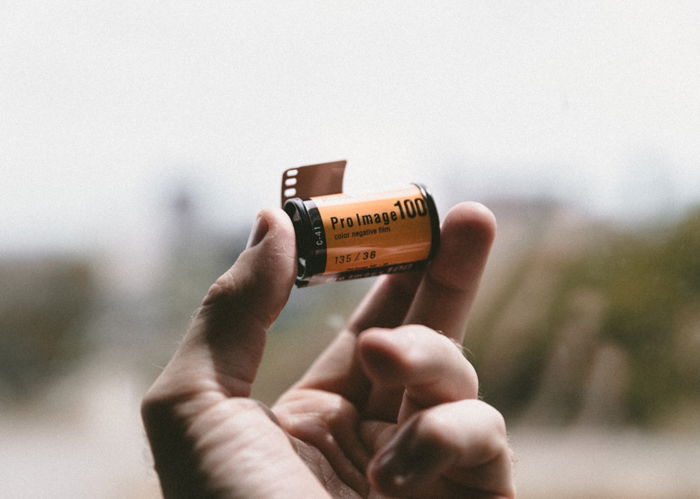
The great thing about film photography is that there are still so many different types of film to use. The downside of film photography is also the overwhelming amount of choice. And the choice can be daunting. The questions you first need to ask is 35mm or 120 (medium format film)? Color or black and white? Low or high ISO? Different sites offer different alternatives. For all the online locations for purchasing film products, read our article.
Which Camera Settings Should You Use
Film Photography Cheat Sheet
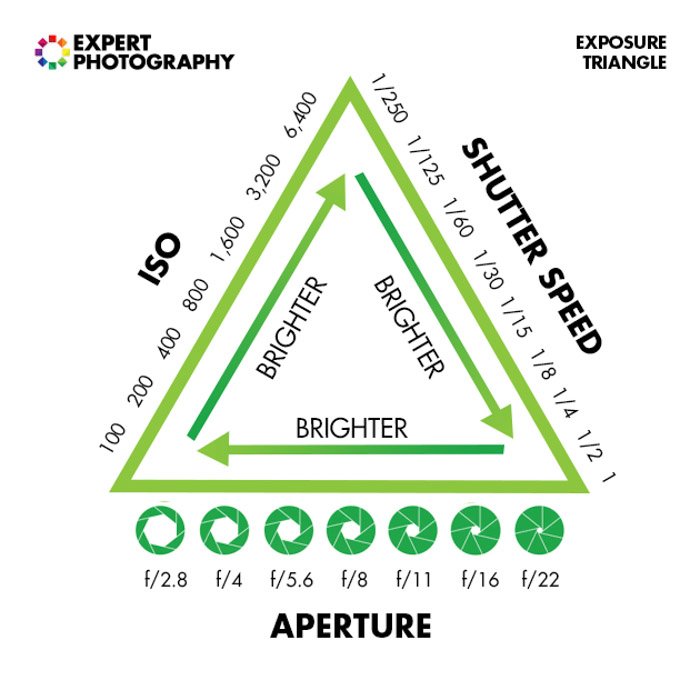
This cheat sheet is to help you get started with film photography. If you know the basics of film photography, you know the basics of digital too. Film photography is much more difficult and challenging than digital photography. You need to know your camera inside out, the scenes’ abundance of light and what your film can do. This cheat sheet runs through three main things. Film speed (ISO), aperture (f/stops) and shutter speed. All three of these things work co-dependently. Have a look at this article for all the help you need to get started.
Basic Camera Settings
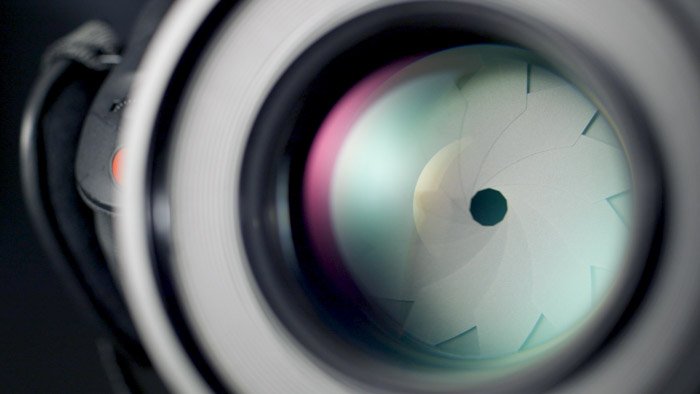
Your camera settings for film photography are going to be familiar. They are similar to what you would use for digital. There is no difference in the tool you use to capture a scene. Both cameras come down to utilizing the three fundamental basics of photography. Aperture, ISO and shutter speed make up the exposure triangle. They allow you to capture a scene. Knowing how to use these three elements manually will help your film photography. Read our article here on the best camera settings to use.
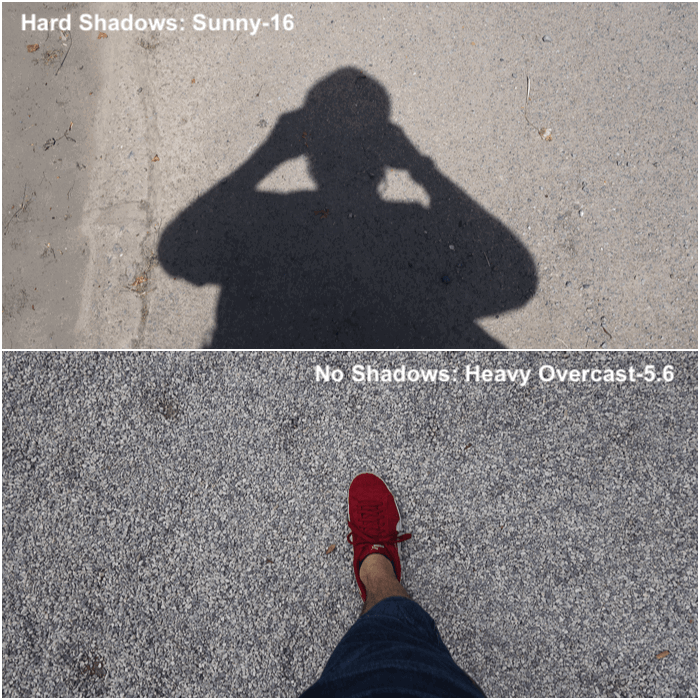
Master the Sunny-16 Rule and Other Exposure Settings
We looked at handheld light meters in a previous topic. But if one isn’t available then there is another way. The other option you can use is adopting the Sunny-16 rule. This rule works at noon when the sun is at its highest. The first setting in you should choose in sunlight is f/16. The shutter speed should be set as close to your ISO as possible. For example, f/16, ISO 200, gives you a shutter speed of 1/250. The benefit of this system is that you don’t have to keep those settings. They are just a good base to work from. If you wanted to move your aperture down 5 stops to f/2.8, then your shutter speed needs to go up 5 stops. This is light compensation as the smaller aperture adds light, and the increase of the shutter speed takes it out again. Keep it sunny.
Tips for Darkroom And Developing
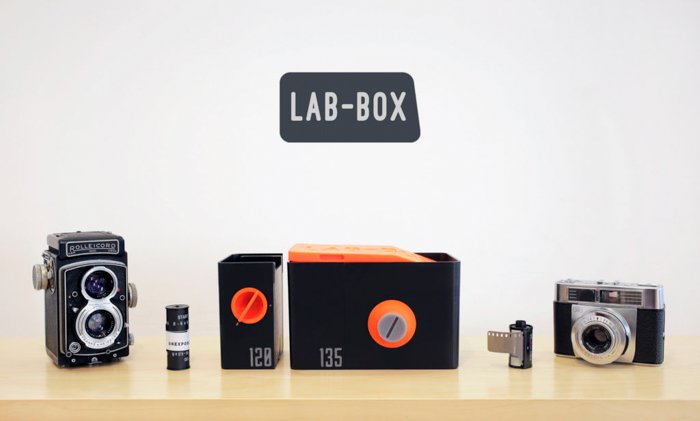
Film Developing Tank
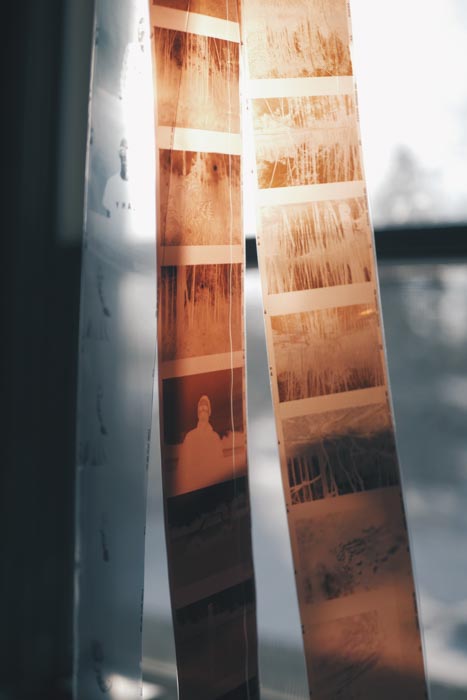
It’s not only easy to process your own negatives at home, but it’s also a lot of fun. The anticipation builds as you follow a few easy steps. First off, you need to find a way to get the film out of its canister. Next, put it into a developing tank. This happens in pitch black as the film is still sensitive to light. Once the film is in the developing tank, you need a developing chemical called ‘developer’. Then, water and another chemical called ‘fixer’. The developing tank holds your film and allows the chemicals to work on it. By agitating the chemicals one by one, you turn the film into a negative.
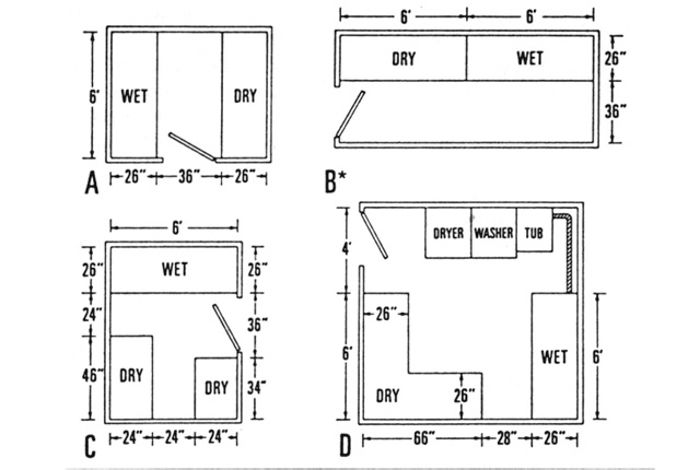
Building a Low-Budget Darkroom
A darkroom is where you process your negatives into prints. A negative is a reverse image of the scene you had captured. The blacks are whites and vice versa. The negative acts as a template that allows light through it and onto light-sensitive paper. These negatives are repeatedly used any number of times. Thank god, as you never get the exposure right the first time. A dark room needs to consist of two areas. One for dry processes and the other for wet ones. The dry areas are where an enlarger exposes your negative on to the paper. The wet area is where you process and wash your paper with chemicals. This article gives you all the information you need to know how to build and operate a darkroom.
How To Develop Black and White Film Photography at Home
Printing your first black and white image is an experience you can’t explain. All the hard work and training has lead right to this point. The basic idea is that you take your negatives into the darkroom and place them into the enlarger. This expands the projected image that falls through the negative. The light-sensitive paper picks up the different intensities of light and produces a positive print. You can see this after you process the print in the developer chemical. All the information you need is right here, in our article.
How to Experiment With Film Photography
An Introduction to Pull and Push Film Processing
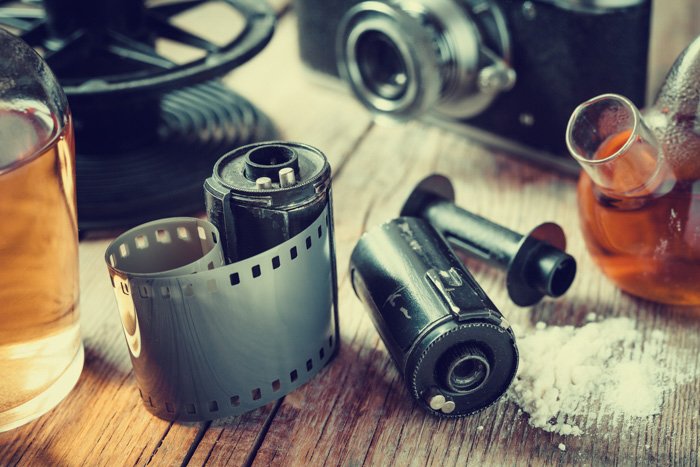
Pushing and pulling film refers to up- and down-rating your film to higher or lower exposure. This can happen during the photography stage or the printing stage. When you are pushing the film, you let your film stay longer in the developing bath. On the other hand, pulling is to stay less in the bath. There are certain measures for that depending on the film and the chemicals. But every information you need is written on the film/developing liquid. Read all the information you need in our article.
Expired Film Photography
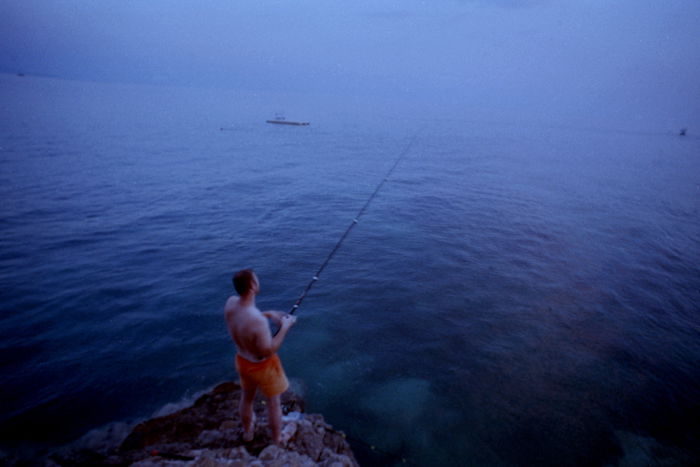
Using expired film has become a very trendy and popular way to photograph for a few years now. This is because the expired film presents color shifts. The effects of heat and background radiation cause gradual, inexorable damage. But extending their lives is as simple as sticking them in a fridge. Or, even better, a freezer. Freezing a film extends its life by decades. These color shifts add those interesting filter-esque tints and color tones. These are the ones that are more present on Instagram processed images. The best thing about them is that there is no way of telling how much the color has changed and shifted. Also, each different film type presents you with a different shift in color. Sometimes you buy one and you end up with terrible pictures. It’s all about trial and error, which makes the whole process very interesting.
Positive Paper
Photographic film starts as a negative. This is the reverse of the captured scene. It becomes reversed again when printed from an enlarger. A negative creates a positive print. Positive paper exists. This allows you to capture a scene as it is, where you skip the enlarging of the image. This is something that you can use with large format cameras and pinhole cameras. Read here on how you can get hold of this paper, and how you can use it.
Double Exposures
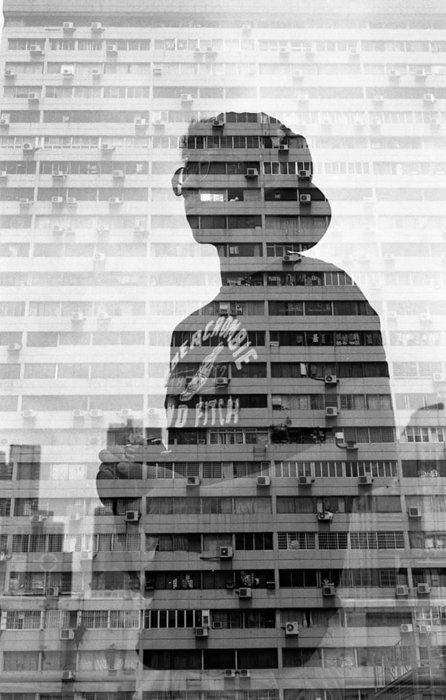
Double exposure is a process of layering two images on top of each other. This can happen either in the photographing, developing or even the printing stage. Some cameras, such as the Mamiya C330 TLR (twin lens reflex) have an inbuilt option to create many exposures. Or with certain ones, you can manually expose the film as many times as you want by not sending the roll towards. Not every camera rolls automatically the film onto the next negative. For most 35 mm film cameras, there is an easy way to create double exposures. The things you need to think of when creating a double exposure are all here, in our article.
DIY Film Photography
DIY Light Box (How to Make Your Own Photography Light Box)
If you are one of those awesome photographers that still shoots on film, a lightbox is a necessary tool. A lightbox will help you look at your negatives closely. This is great for the pre-selection process before printing or scanning. It will save you time. IKEA is the place to go for this one, for reconditioning an inexpensive table. Maybe you already have one that needs a new purpose. In our article, we will show you how to build one.
Handmade Cameras
If the experimental side of things interests you, this post is for you. You will see a few photographers have taken it upon themselves to create their own cameras. They created their own devices to fit their style. From it, there are a few unique capturing devices out there. This is a great way to add interest to your work as no one has the same tools capturing the same things. Read here on a few possibilities and hopefully, it gets your creative chemicals running.
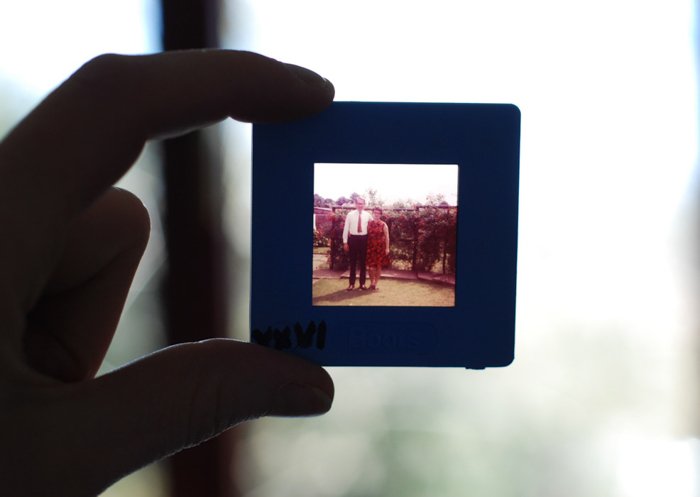
How to Digitalize Film
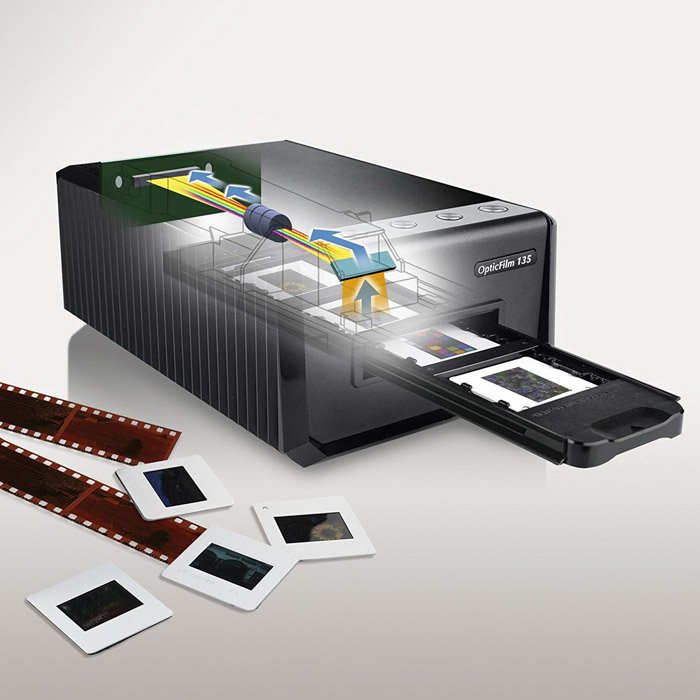
How to Find the Best Film Scanner for Photography
Even though you love the analog aspect of film photography, you might still want to digitalize your negatives. This ensures that you have a copy of your negative. It also allows you to post-process the negatives further. Working with programs such as Lightroom allows experimentation with layers and local adjustments. A digital version of your image allows you to share your shot on social media. It also lets you decide whether you wanna do a physical print developed from it. When it comes to film photography, a scanner is your best way of getting your images onto your computer. Read here on how we recommend you digitalize your film photography.
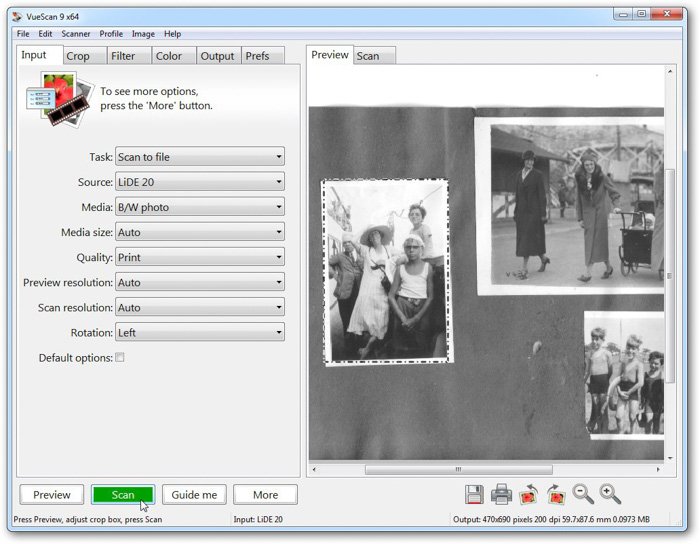
VueScan Review: Is it Really the Best Film Scanning Software?
VueScan is a program that allows you to scan and digitalize your film photography. This software is available for both PC and Apple systems. It is important to find joy in the processes behind film photography. You will have to do mundane tasks repeatedly. Scanning in your negatives is one of these tasks, so you have to make it enjoyable. If, like me, you don’t like the operating program that comes with your scanner, give this software a try.
How to Digitalize Film Photos
Digitalizing your processed negatives have many benefits. for one, it means you don’t need to mess around with a darkroom. This is something that some companies and labs can do for you. If you already have a scanner, you can do it yourself as it is cheaper this way. Read our article here for the step-by-step guide. This will ensure no problems arise, and you can digitalize your images as fast as possible.
How To Create a Film Photography Look in Lightroom
If it’s the film look you are after, you don’t have to shoot on film. There are many processes you can use to replicate it. Our article here shows you how to obtain that atmosphere of an image shot on film by using Lightroom. It’s all about the local adjustments. Why should you do it in Lightroom? Well, it saves the hassle of shooting on film in the first place. You can also use presets to achieve a film look. To learn more about how to use Lightroom, check out our Effortless Editing course!
Conclusion
Film photography involves loads of physical processes that need research and practice. It is also an amazing way of getting in touch with the origins of photography. We hope that we could help you with these processes and that our tips motivate you to utilise the full potential of film photography. Looking for more film photography information? Check out our new post on how to develop film next!
![]()
![]()


![]()
![]()
