Attractive pictures are the key to driving sales. Whether you have a shop on Etsy, or sell products through an online shop. Product photography can be challenging. Especially when dealing with shiny and reflective objects. But there are several tips and tricks that you can learn to quickly bring you success.
Start With Basic Ecommerce Photography Camera
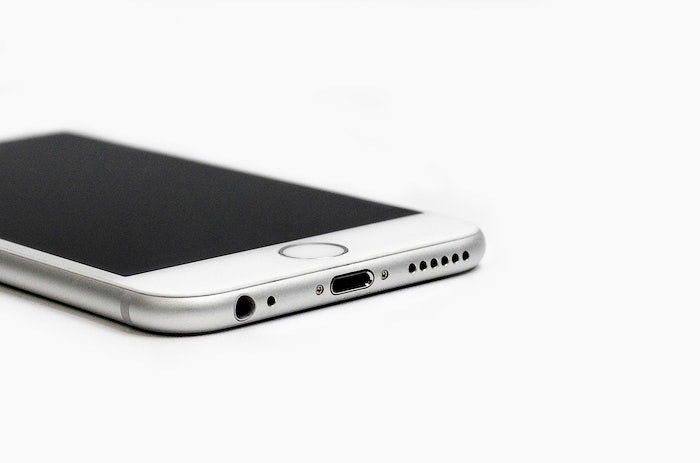
A high-resolution camera with interchangeable lenses will always be a powerful ally in your product photography. But you can start taking great product photos with your smartphone. The cameras in your can’t-live-without-it-phone are very sophisticated. Some offer up to 41 megapixels, optical zoom, and dual aperture. These features are more than enough to allow you to start creating great product photography. Once you work with your smartphone for a while, you may then decide to upgrade to a DSLR and perhaps a macro lens. These will give you sharp, portrait-style shots or close-ups of your product.
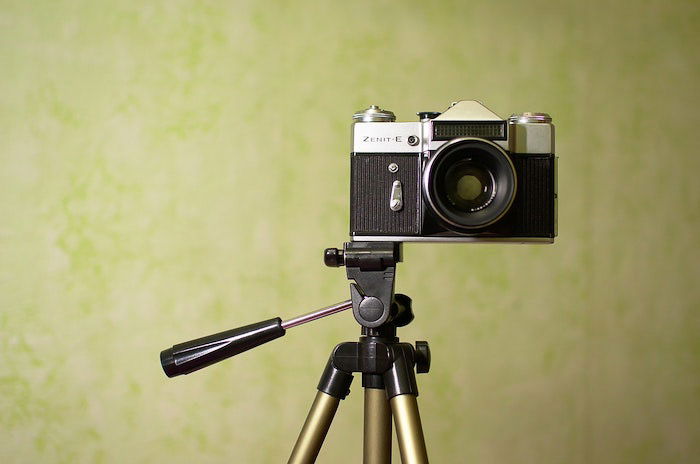
Buy a Tripod
Whether you’re using your smartphone or a DSLR to take product pictures, something to stabilize a camera is a must. This is where some sort of good quality tripod comes in. Product images need to be extra sharp throughout. A tripod will help you minimize any blur associated with camera shake. And it will also help you create consistent images from shot to shot. This is really important in product photography. If you’re using a DSLR and have control over the aperture, set it to a high f-stop number like f/11 or f/16, depending on the light you’re working with. This will help bring your subject more into focus. This is because you will have a narrower depth-of-field. Be aware that if you go really narrow with the F-stop, say f/22, lens diffraction may degrade the quality of your photo. It doesn’t matter how good of a camera or lens you have.
Invest in a Seamless Backdrop
If you’re shooting your product on a white background, you need to invest in one that is seamless. This means you can’t see any line of demarcation of the surface and background in your shot. For small products, you might be able to get away with using a piece of thin white poster board from the craft store as a sweep. Make sure as it doesn’t have any shine to it. For larger products, you’ll need a stand-mounted sweep. To improvise a sweep with the poster board, place your shooting table against a wall. Tape the paper to the wall. Look through your camera lens and make sure that it covers the amount of wall and surface that appears in your frame. Your backdrop should be white. It will reflect the light back and give you soft and even shadows. Any backdrops with color will give off color casts in the image. This is one thing you don’t want altering your product photography.
Work With Your Light
You don’t have to work with artificial light when shooting product photography. For some objects using flash or a constant source of artificial light like an LED can make your life a lot easier. The important bottom-line thing is that you understand your light source, whatever it may be. Natural is the most available and abundant source of light. Often, it’s the simplest and least expensive solution to lighting your product photography. If you’re using natural light, shoot on a table next to a window. Avoid photographing with direct sunlight. This can look harsh and create dark, unwanted shadows in your images. Natural light changes throughout the day. Getting the best shots is dependent on being able to shoot when it’s brightest, and being able to get consistency in your images. Artificial light, on the other hand, can be a pricey investment even at an entry-level. And it has a steeper learning curve that natural light does. Once you learn how to use it, you can really control every facet of the light and get fantastic results. Depending on your product, you will need 2-3 lights. This will ensure it’s evenly lit and that the images have dimension to them. One light with a softbox on either side of your set-up will help you avoid sharp shadows at the bottom of the product. A light coming from above will give it more depth. You’ll have to play with the distance of the light to make sure you get soft shadows and even lighting. Three lights are often ideal, but you can often get away with two.
Use Diffusers and Reflectors
Tools to manage and sculpt the light are a very important part of photography. To capture great product images, you’ll need to have a few diffusers and reflectors on hand to help you manage your light source. If these are out of your budget, you can DIY a diffuser. Hang a sheer white curtain from your window if you’re using natural light. Pieces of white and black foam core from the craft shop will help you bounce or absorb light. You should have at least one white bounce opposite your main light source. This will reflect the light back into the scene.
Consider Using a Lightbox
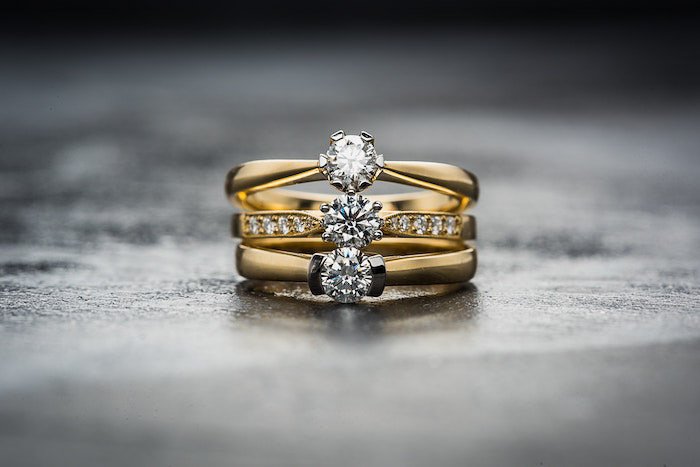
If you’re shooting jewellery or other very small products, you may want to invest in a lightbox or a light tent. It gives you the effect of shooting with studio lights without making a big investment. And you don’t need to be proficient in flash photography either. A lightbox is basically a box-shaped tent made of translucent white material that diffuses the light. You can buy sets that include a couple of small tabletop lights. A lightbox cuts out harsh shadows and allows for an even distribution of light around your product. Keep in mind that this is a tool best used with products that are quite small.
Take Shots of the Product From All Angles
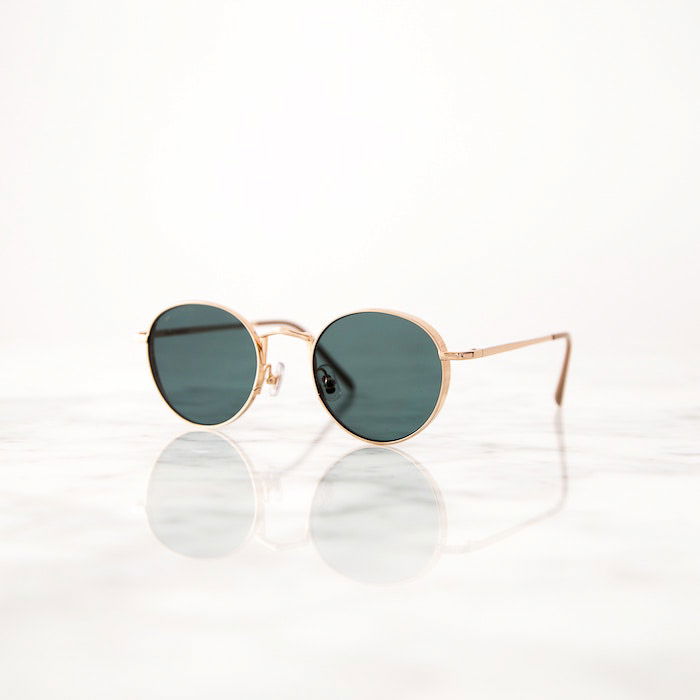
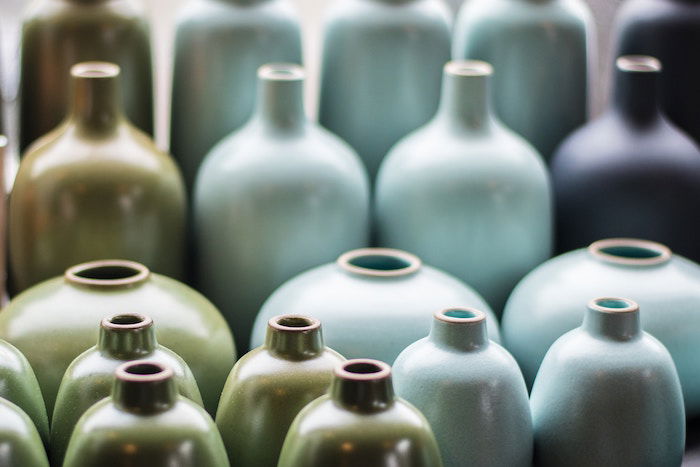
The point of product images is to show the product in the best light and to give consumers a good idea of what they can expect if they buy your product. You want your images to show the product as clearly as possible so that they can make a favorable decision about buying your product. One glance and they can understand what your products are about. Take photos from a variety of angles: eye-level, bird’s-eye view, or a high or low angle, depending on the product. Shooting products from lower than eye-level will make it seem large and imposing. It’ll send the viewer a subtle message about its strength. You sometimes see this in beer ads. Bird’s-eye view will flatten depth and can be a good approach if you want to emphasize shape or a certain feature. Take photos of your product at a variety of angles. At the very least, you should show the front and back of the product. Don’t forget to take shots that show the details of your product. Does the handknit sweater have a special pattern? Does the jewelry have stones in a particular color? Be sure to focus on the details that your customer would be interested to know about.
Consider Shooting the Product In Context
Although product photos on a seamless background are most common when it comes to ecommerce photography, shots of the product in context are a valuable addition to any web page. Shots of people wearing sneakers or clothing for sale, close up shots of the jewellery on someone’s neck or wrist give a lifestyle feel to an image. These help consumers visualize how they can use them. These e-commerce photos have a storytelling feel. They speak more directly to the consumer by creating an emotional connection to the product. They shouldn’t replace the main shots of your product. But they are a great addition that works particularly well on social media or blogs, or other media that engages people and raises brand awareness. E-commerce images shot in context can show how the product fits or can be used, can boost the image of your brand. Using models in your photo shoot can be a powerful tool that will give your brand a face and certain image.
Best Apps and Post-Processing Software to Edit Your Photos
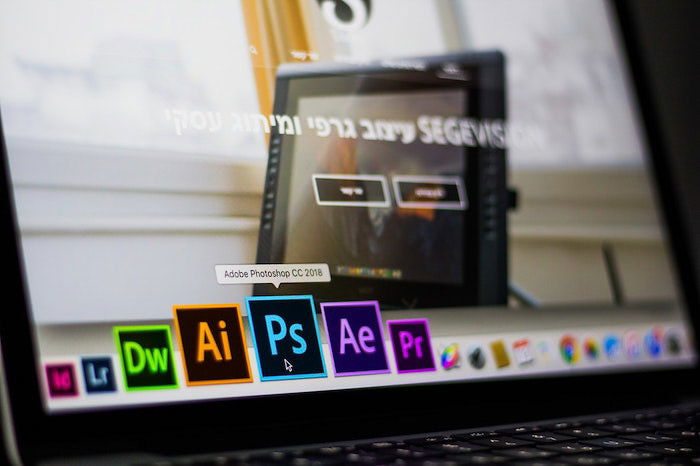
Whether you’re using a smartphone or a DSLR, processing your images will be an important step in photographing your products for e-commerce. Snapseed is a popular application that can help you take smartphone images to the next level. It includes a variety of tools to correct the exposure, tint, and white balance of your images, in addition to a Curves adjustment tool and a cropping tool. If you’re using a DSLR, Lightroom is a top post-processing program of choice. It’s a powerful yet user-friendly piece of software. It will not only allow you to edit your images, but organize them as well. Lightroom has consumer and pro versions. The latter will give you most of the tools you need to make top-notch results in your product photography. If you need to do a significant alteration to your pictures, you may want to consider using Photoshop. Lightroom is a global editor mostly focused on making adjustments to the whole image. Photoshop is a pixel editor that allows you to change the actual pixels in the image. This means that you fix mistakes more precisely, or even make composites where you create one final image from several images. Compositing is very common in product photography. Often, areas of the product are light in a specific way and then blended together in Photoshop using several images. As beginner product photographers, you don’t need to worry about this. It’s something to be aware of for the future if you decide you want to increase your product photography skills. Advertising photographers can take days shooting and editing one image. In all likelihood, you just need photos that will put your products in the best light.
Conclusion
These are the basics of ecommerce product photography and will get you started in taking great product images. With a bit of care and patience, you’ll be a pro in no time.