Ask For a Restaurant Photography Shot List
When you begin to communicate with the restaurant about the shoot, ask for a shot list. This is a list of all the images that the client wants you to take. From beverages to individual dishes, to shots of the ambience or shots taken in the kitchen. You need to know exactly what you’re expected to deliver so you can estimate how long it will take you. If you can’t do this, you can’t price your service accordingly. Beverages, for example, can take longer to photograph than a plate of food. Managing reflections in glass can be difficult. When a restaurant approaches you, they will likely not have thought this far ahead. But taking on the job without knowing what you’re shooting can lead to problems later. You may not get fair compensation and spend a lot more time on the project than you anticipated. At the very least, try to get a breakdown of how many food images you need, how many drinks, etc. In my experience, it takes an average of twenty minutes to prop and shoot a restaurant dish. Sometimes more. It depends on the lighting and other factors. Always pad the amount of time you think it will take you. Usually it will be more than you think.
Go Check Out the Restaurant Before the Shoot
Go check out the location before a shoot. In some cases, there will be enough natural lighting that you can shoot by a window and get the shots that you need. In other cases, you will need to bring an artificial light like a speedlite or a strobe. Restaurants are quite dark inside. Or they have lighting that can create unwanted color casts in your images. You will also need to figure out where to set up your equipment and workspace. And you need the manager or proprietor’s agreement for this. If the restaurant is open when you shoot, you have to be as unobtrusive to the patrons as possible. This may mean shooting off in a corner and limiting the amount of gear you bring in.
Set the Terms for Food Styling
When you’re negotiating with the client, you should make it clear that you’re not a food stylist. You’re not responsible for the final appearance of the food. You should actually have a clause in your contract to reflect this. Food styling is a different occupation. And it requires a separate skill set from photography. You are responsible for the light and image capture, not the wrinkly and soggy burger bun. Many clients don’t understand the difference. You’ll need to tell them how the food styling component of food photography works. If the chef is good at plating, the food might still look great. But styling food for a customer is different than styling food for the camera. In general, chefs in higher-end restaurants tend to be better at plating. I recommend advising clients that they need to make sure their chef is up to the task. Otherwise, they should hire a food stylist. A client might refuse to hire a food stylist. What then? Make it clear to them that the look of the food on the plate falls on them.
Why You Should Still Bring a Food Styling kit
Although you won’t be plating and styling the food, you still should bring along a basic food styling kit. Make sure it includes items such as tweezers, q-tips, and small brushes. This will help you tame errant garnishes or clean unwanted crumbs and drips from the plate. You can carry these items to the shoot in a small, plastic box with a handle. A fishing tackle box, or a food storage container work well here. As I mentioned, it’s not your job to style the food. But you should do your best to take care of the little things that can detract from your subject . This will help you present the best composition possible.
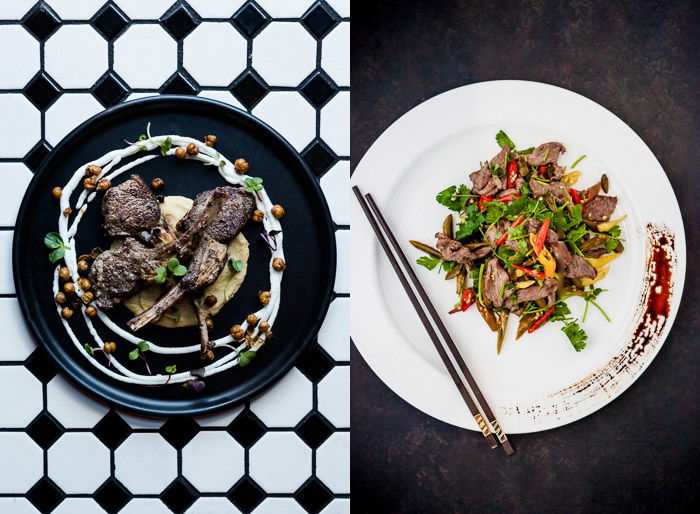
What Props and Linens Should You Bring
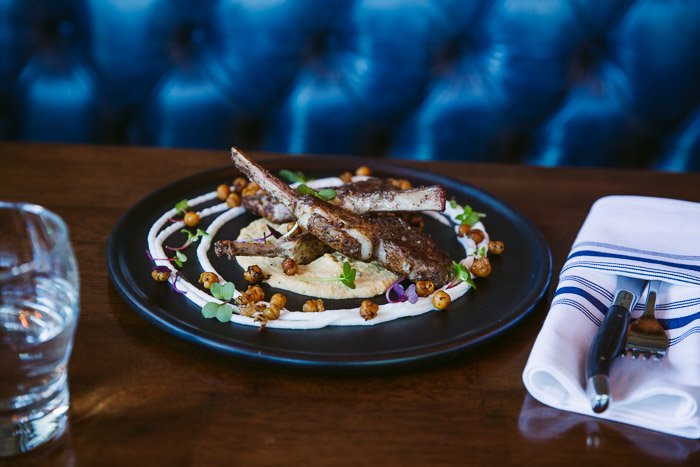
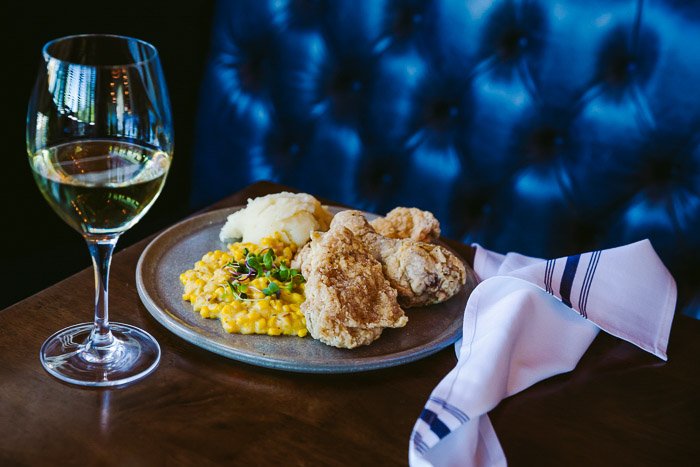
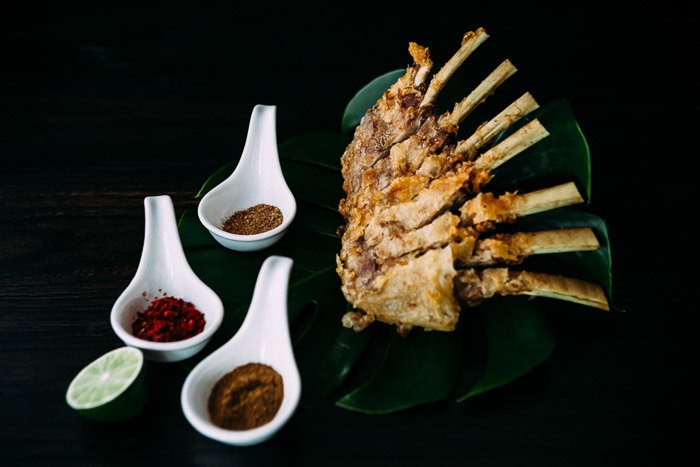
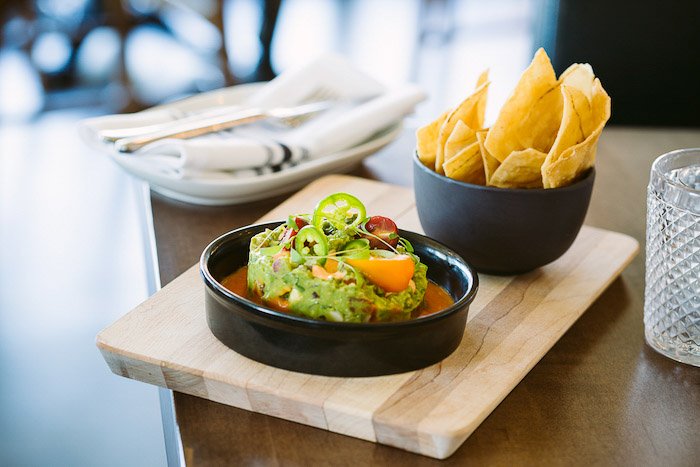
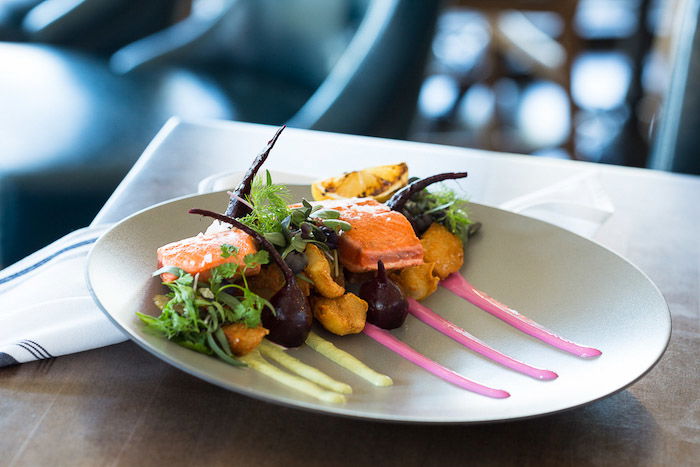
Bring a stack of linens in various shapes, sizes and colors. Also bring a few dishes and pieces of cutlery. Sometimes clients want their tables, cutlery and dishes to reflect the restaurant experience. But many have a branding direction in mind. You’ll have to create a specific look or ambience to match it. For example, most restaurants have white dishes. The client might want a rustic or dark and moody aesthetic instead. You will need dark, matte dishes and vintage cutlery. You can also bring along small cutting boards, pinch bowls or salt and pepper shakers. Include any other props that will reflect the atmosphere. You may also need to bring in your own backgrounds. Sometime clients want more of a magazine-style look. Or their tables are too reflective or the wrong color. A lot of restaurants have wooden tables with an orange tone. The camera exaggerates this and it looks unappealing in food photography. In this case, I bring some canvas or vinyl backgrounds for this purpose. They look great, are lightweight and easy to roll up and bring to shoots.
Should You Use a Tripod?
Restaurant lighting presents a challenge for natural light food photography. You will need to shoot by a window and will definitely need a tripod. That way you can decrease your shutter speed and make a longer exposure. This will not work for shooting any people. They will be blurry with a long exposure. But using a tripod to shoot action in the dining room or kitchen is cumbersome. And you can might up in everyone’s way. The solution is to increase your ISO or shoot with a monopod. This is not as stable as a tripod, but it’s more stable than handholding your camera.
Shoot in Landscape Orientation
Before the restaurant photography shoot, ask your client how they’ll use the images. This will determine how you need to shoot them. Many restaurants only need images for their website. Interactive web design requires horizontal orientation for images. It also tends to cut off the top and bottom of the image. If the client will be printing some of the images on a menu, this may need a vertical format. This is a good chance to check the menu writing and make sure everything is on point. Make note that if they want both, it can take you up to twice as long to shoot the images. You will not only have to readjust your camera but also recompose the image. Whenever you reposition the camera, you have to change the position of the subject. And rearrange the other elements in the scene. This ensures that the composition fits with your camera orientation. And also that important elements won’t get cut off when they are being viewed on the web.
Shoot Tethered
If you don’t yet shoot tethered for your food or restaurant photography, you need to start. Tethering is when you hook your camera up to your computer or laptop. This way you can view a larger, more accurate rendition of your shot. This is very simple to do in Lightroom. All you need is the proper cord to hook up the two pieces of equipment. Shooting tethered allows you to see any mistakes you’ve made. And you can tweak your composition during the shoot. Also, the client should be there to approve the images. Showing the client the images on your computer will make you look more professional. It will allow them to give you feedback on your photographs. This way there will be no surprises. You can rest easy that you’re delivering what the client is expecting.
Why You Should Involve the Client and the Chef in the Shooting Process
Your client should make clear to you the style they are looking for. Images that they liked of yours can be a great starting point for this conversation. Apps like Pinterest and Mood Board are great to communicate about desired aesthetics. Also, clients need to be at the shoot. They’ll provide creative direction and approve the images. This way they can’t come back and tell you that they don’t like the images and demand a re-shoot. I have a clause in my contract regarding this. If the clients doesn’t attend the shoot, I pack up my stuff and go home. And they forfeit their deposit. You should also always involve the chef in the restaurant photography shoot process. When you make an appointment to scout the location, mention that you would like to meet the chef. It’s important that you coordinate the timing of your shots with what is going on in the kitchen. If it takes you twenty minutes to shoot a dish, the chef can’t send out plates every five minutes. The food will no longer look appetising once you get to it. Have an assistant or a restaurant staff member act as a go-between. They’ll ensure that the food is coming out at the right time.
Conclusion
Restaurant photography can be challenging. But it can also be a rewarding part of your food photography business. There are a lot of restaurants around. Working with them can help you get a portfolio of your food photography together fast. Put these tips into practice. You’ll be able to mitigate any potential issues on shoot day. And you’ll capture images that you and the client will be happy with.